
After the stone has initially set, use an instrument to remove the excess. Be careful not to pull the stone away from the base while removing it. Rather, you should trim it in such a way that causes a little pressure in the direction of the base. The same applies to the stone being trimmed inside the Arch. You can use a damp finger to add the final touches.
You can articulate the case at this point or separate it and clean the model work.
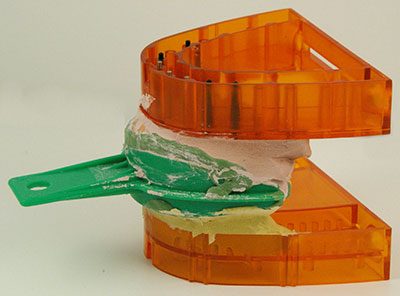
![]() Hold
the stone models and not the plastic bases when separating the
models from the impression, this will reduce chances of separating the stone
model from the plastic base.
Hold
the stone models and not the plastic bases when separating the
models from the impression, this will reduce chances of separating the stone
model from the plastic base.
As you can see, the model bases are aligned as close as possible. This can be achieved with every case if the Pouring Jig is set up properly at the onset.
![]() Many
labs will keep one or more Pouring Jigs set up at all times just for
pouring Triple Tray impressions.
Many
labs will keep one or more Pouring Jigs set up at all times just for
pouring Triple Tray impressions.
Home
Page > 1
2 3
4 5
6 7
8 9
10
11 12
13 14
15
16 17
18
19 20
21